php实现头像上传预览功能
本文实例为大家分享了服务器端编程语言(专业超文本预处理器的缩写)实现头像上传预览功能的具体代码,供大家参考,具体内容如下
主页面1.php
html health eta http-equiv=' Content-Type ' Content=' text/html;charset=utf-8' /title上传头像/title style type=' text/CSS ' * { font-family : '微软雅黑;} #宗{ /*border:1px纯黑;*/位置:相对;宽度:52%;高度height :500 left :24% } .nr { float:left右边距:30 px} # yl { width:240px高度:240 px背景尺寸size:240px 240px} #文件{宽度:240像素高度:240 pxfloat : leftopatha 33600 }/style/head dydiv id=' zong ' form id=' sc ' action=' 2。PHP ' method=' post ' enctype=' multipart/form-data ' target=' Shang chuan ' input type=' hidden ' name=' TP ' value=' id=' TP '/div id=' yl ' style=' background-image 3360 URL(./image/1.jpg)' class='nr'//头像显示的位置输入类型=' file ' name=' file ' id=' file ' on change=' document。getelementbyid(' sc ').submit()'//div class=' NR '/div/form frame style=' display : none ' name=' Shang chuan ' id=' Shang chuan '/iframe/div/body script type=' text/JavaScript '//回调函数,调用该方法传一个文件路径,改变背景图函数显示img(URL){ var div=文档。getelementbyid(' yl ');div。风格。背景图像=' URL(' URL ')';document.getElementById('tp ').value=url}/脚本/html处理页面2.php
?PHP session _ start();$ uid=$ _ SESSION[' uid '];if($ _ FILES[' file '][' error ']){ echo $ _ FILES[' file '][' error '];} else { if($ _ FILES[' file '][' type ']==' image/JPEG ' | $ _ FILES[' file '][' type ']=' image/png ')$ _ FILES[' file '][' size ']1024000){ $ fname=' ./a/image/.日期(' YmdHis ').$ _ FIles[' FIle '][' name '];//头像存储的路径$filename=iconv('UTF-8 ',' gb2312 ',$ fname);if(file _ exists($ filename)){ echo '脚本警报('该文件已存在!');/script ';} else { move _ uploaded _ file($ _ FILES[' file '][' tmp _ name '],$ filename);取消链接($ _ POST[' TP ']);“echo”脚本父级。显示img(' { $ fname } ');/script ';} }}打开显示:

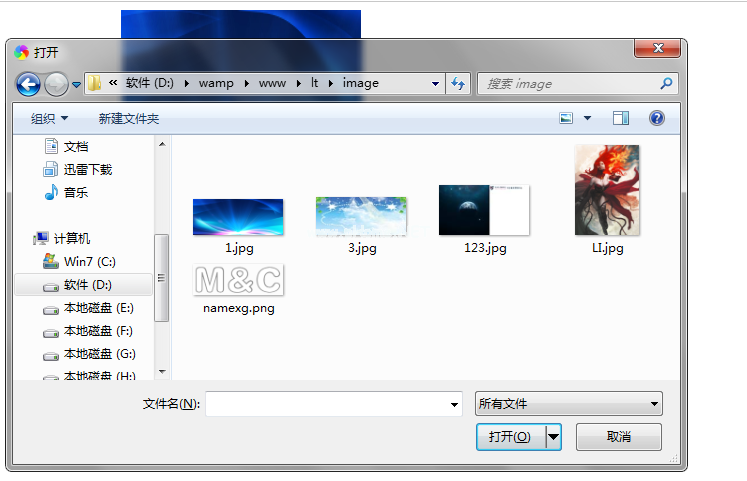
点击图片位置弹出选择框:
选择图片完成后:

以上就是本文的全部内容,希望对大家的学习有所帮助,也希望大家多多支持我们。
版权声明:php实现头像上传预览功能是由宝哥软件园云端程序自动收集整理而来。如果本文侵犯了你的权益,请联系本站底部QQ或者邮箱删除。